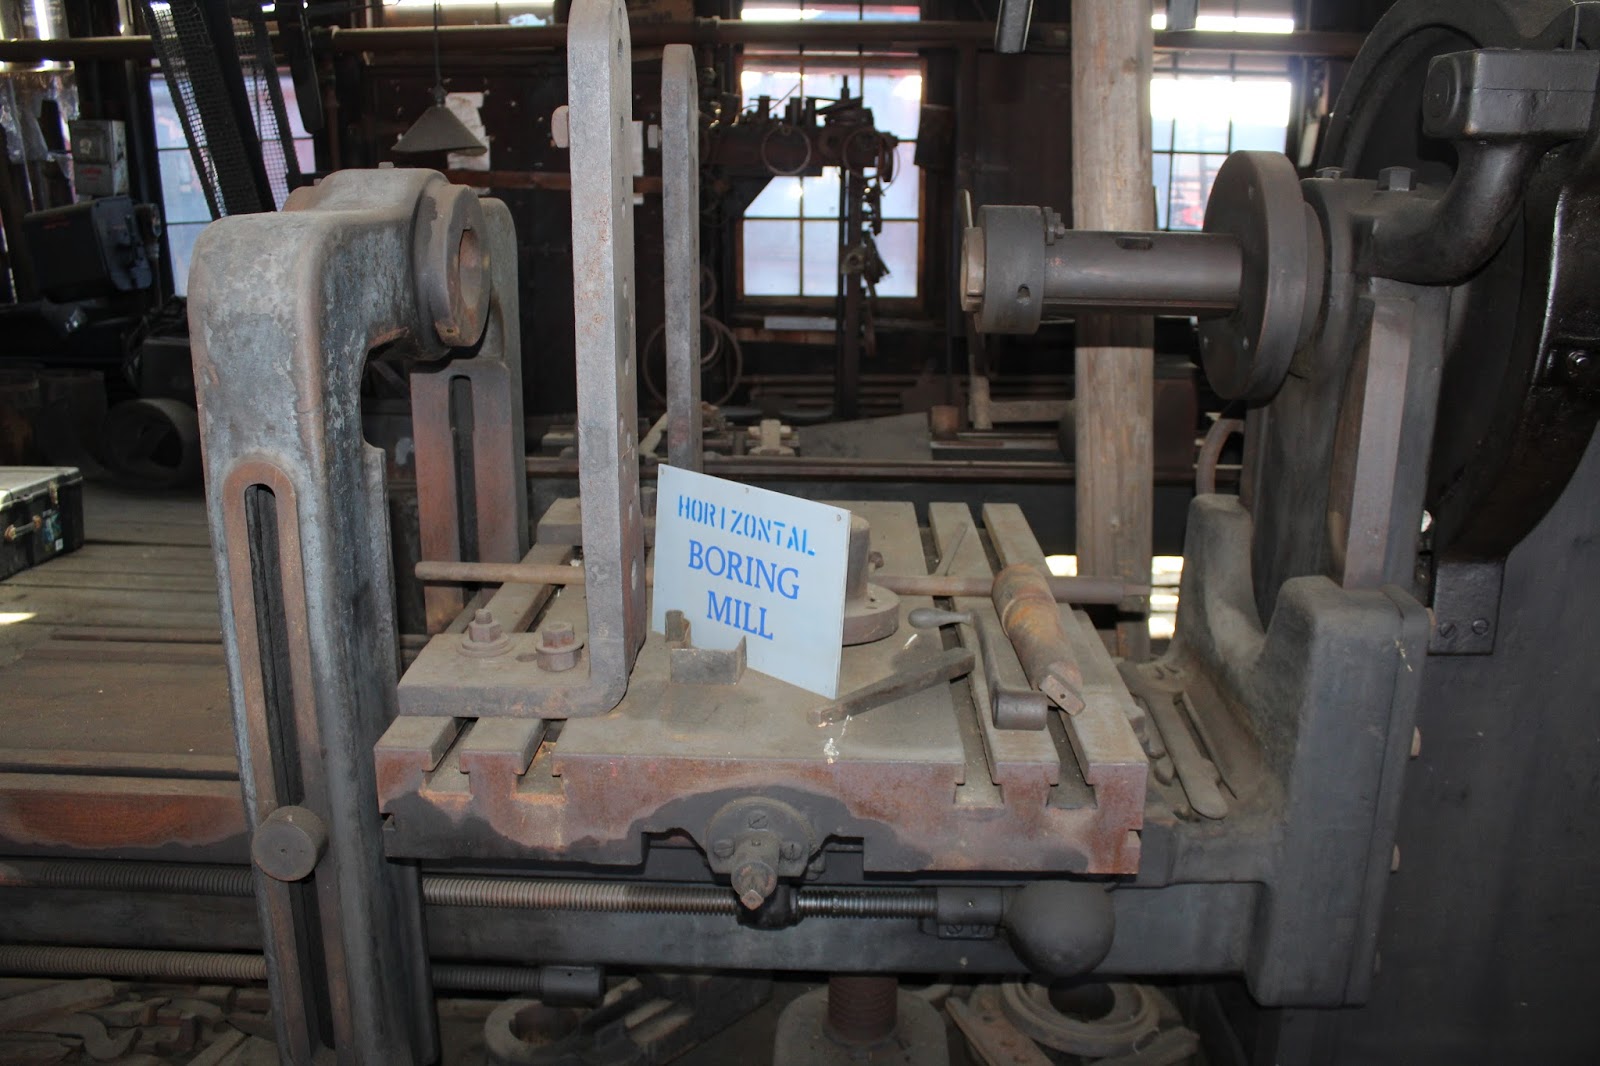
Located some ten miles south of its junction with the Pennsylvania Railroad in Mount Union, the EBT shop complex covers several acres in the borough of Rockhill Furnace. Here can be found everything needed to support the little narrow gauge railroad: an 8 stall roundhouse; turntable; car shop; locomotive shop; machine shop; sand house and tower; foundry; blacksmith shop; paint, electrical and air brake shops. Most of the buildings are of board and batten construction, with the exception of the roundhouse and paint shop. The latter was a replacement built in the 1930's for an earlier wooden structure destroyed by fire. The amazing thing about all these buildings is that they are still standing some 60 years after the end of common carrier operations. An aerial view shows the layout of the shops as it is today. (The buildings to the right of the tracks belong to the neighboring trolley museum and are not part of the East Broad Top Railroad.)

The EBT main line to Mount Union runs beside a large structure in the middle of the picture. This building, with the offset roof, is the car shop, the largest building on the property. Just beyond can be seen the twin smoke stacks of the powerhouse. Above the power plant are the roofs of the foundry, the coal bin, the pattern storage building, and the electrical and air brake shops. The L shaped building to the left of the car shop houses the locomotive and machine shops. Just above them can be seen the roof of the blacksmith shop with its ventilated monitor roof.
To the left, along Jordan Creek, can be seen the sand house and tower. Above are three small sheds. Beyond are two large storage buildings for pipe and rod stock, with the stone farm house just below the turntable, used as a yard office and storage facility when the railroad was still hauling coal. The small brick building with a red roof to the left of the roundhouse is the paint shop.

I had always planned to include the shops on my East Broad Top layout, and over the years I acquired some. but not all of the shop buildings. A few structures I purchased on eBay already built. Others were scratch built or assembled from kits. But I still needed several key structures without which my Rockhill Shop scene would be incomplete. These included the imposing blacksmith shop, the electrical and air brake shops, and the brick paint shop. I was fortunate to have plenty of photographs from recent trips to the EBT and I had blueprints and plans to work from. The blacksmith shop is documented in the Historical American Building Survey and the Historic American Engineering Record in the Library of Congress (HABS/HAER), a copy of which just happened to be in my files! Plans for the electrical shop and the paint shop were available from the Friends of the East Broad Top (FEBT) Company Store and I promptly ordered a set of each.
The Electrical and Air Brake Shops
The Electrical and Air Brake Shops
One of the most unusual structures on the property is the combined electrical and air brake shop building. It has an odd collection of windows, including a line of small four pane windows just under the eaves. Two sides of the building are constructed of novelty siding while the other two sides are board and batten. A small shed is attached to the west side of the electrical shop (the side facing away from the tracks) and a short spur runs up to double doors in this lean-to addition. Here is a three quarter view of the north-east corner. The old stone farmhouse yard office can be seen in the background.


Below is a photo of the north side of the building showing the double door entrance to the lean-to air brake shop. The blacksmith shop is visible behind and to the right. In recent years the FEBT has stored the rebuilt 1920's Nash track car (M-3) in the lean-to.. It is not clear what the railroad used the shed for in common carrier days. It is known as the air brake shop, but the structure is too short for a car to be enclosed. The purpose of the electrical shop is another mystery. Was it a work area for servicing the power and lights? A clue might be the large quantity of Western Electric telephone equipment inside, suggesting that it might have been used to maintain the EBT telephone lines from Mount Union to Robertsdale.


I began construction of the model by laying out the FEBT plans on my work bench. The building was measured in 1986 but early photographs indicate it is relatively unchanged since the 1950's.

Although the plans are drawn in HO scale (1;87) I used an HO scale rule to measure the ends and sides, just to be safe. I used Kappler scribed basswood sheet for the north and east sides of the electrical shop (scale 8" boards), and Mount Albert board and batten basswood siding (with scale 1 foot boards) for the south and west sides, as well as the sides of the air brake shop. After a good deal of shopping around for windows, I found some Tichy and Grandt Line windows in my scrap box that were close to the correct size and type. The four pane window over the north door was unusual, and I used a window by Laser-Art. I then used a sharp chisel blade in a hobby knife to cut and knock out the window and door openings.

I decided to paint the sides oxide red before assembling the building, to avoid painting over any glue residue. Since the drawings were HO scale, I could lay out the entire building before assembly. In cutting the two ends of the electric shop I was careful to allow for the thickness of the long side walls.

I assembled the walls on a sheet of glass, with a grid under the glass to help square the structure. The grid was purchased in a sewing store and was designed (I think) for quilting. Brass clamps were used to keep the sides square while the glue dried.

The interior walls were braced with 1/8" stripwood to prevent warping.

Here is a three quarter view of the north and west sides showing the air brake shop. The windows were spray painted with Krylon white primer before installing them. Wooden board doors were cut from scribed styrene. A piece of thin balsa wood was glued to the back of the door opening, so that the styrene boards would fit flush with the frame. The double doors of the air brake shop were made the same way.

The sub-roofs for the two adjoining structures were cut from heavy mat board and test fit on the building. The roofs were not glued in place yet.

The roof of the electrical shop is made of weathered corrugated iron sheets. The air brake shop roof is covered with tar paper. I cut the corrugated panels from Campbell corrugated aluminum strips. I made a simple measuring device by drawing verticle lines 2 scale feet apart and laying out the aluminum strips so that I could quickly cut roof panels with a #11 hobby knife blade.

To attach the corrugated panels to the mat board roof I used 1/2" strips of Bron doubled sided tape. Bron makes a wide variety of tapes for special purposes; they can be found by googling Bron on the internet. The 1/2" size tape is narrow enough to fit two strips side by side to secure the roof panels.

Roof panels were placed side by side with a slight overlap. The second layer of panels run from the peak of the roof and overlap the lower panels. Another strip of Bron double sided tape ran across the top of the lower level to keep the panels flat.

When all the panels were taped to the sub-roof, a line of panels was used across the roof peak. Here is the finished roof before the ridge panels were installed.

The metal roof was given a base coat of Tamiya TS-63 NATO Black spray paint. This was as close as I could come to the now defunct Floquil "Weathered Black" color. I used a "rattle can" to apply the spray paint. Once the roof was dry, I prepared a work space and different sizes of soft brushes to apply a variety of weathering powders from Micro Mark.

For weathering I used grimy black, dirty brown and rusty brown colors. To apply the weathering, I dipped a brush in the powder, picking up enough to sprinkle across the top of the roof. Then I used a wide soft brush to streak down the roof panels.

When using this technique, don't be afraid to mix the powders or apply them successively over each other. You want the roof to look weather beaten, slightly rusty, and sooty, I was pleased with the results I achieved. Here is the electrical shop set on the layout.

The roof of the air brake shop lean-to was covered with a new product I discovered at the National Narrow Gauge Convention in Augusta, Maine: Stoney Creek Designs Rolled Roofing. I opted to use the black paper, which has a granular coating on one side to represent asphalt roofing. The paper was aged by gently dragging each sheet across 340 grit sandpaper before gluing it to the roof.

Here is a view of the southwest corner of the finished structure. The south side is seldom seen or photographed, as it is only a few feet from the adjoining building.

This concludes my step-by-step explanation of how I scratch built the EBT electrical and air brake shops. This unique little building not often modeled, but is a interesting addition to the shop complex. In my next post I will describe how I scratch built another rarely modeled structure: the brick paint shop next to the roundhouse.

Although the plans are drawn in HO scale (1;87) I used an HO scale rule to measure the ends and sides, just to be safe. I used Kappler scribed basswood sheet for the north and east sides of the electrical shop (scale 8" boards), and Mount Albert board and batten basswood siding (with scale 1 foot boards) for the south and west sides, as well as the sides of the air brake shop. After a good deal of shopping around for windows, I found some Tichy and Grandt Line windows in my scrap box that were close to the correct size and type. The four pane window over the north door was unusual, and I used a window by Laser-Art. I then used a sharp chisel blade in a hobby knife to cut and knock out the window and door openings.

I decided to paint the sides oxide red before assembling the building, to avoid painting over any glue residue. Since the drawings were HO scale, I could lay out the entire building before assembly. In cutting the two ends of the electric shop I was careful to allow for the thickness of the long side walls.

I assembled the walls on a sheet of glass, with a grid under the glass to help square the structure. The grid was purchased in a sewing store and was designed (I think) for quilting. Brass clamps were used to keep the sides square while the glue dried.

The interior walls were braced with 1/8" stripwood to prevent warping.

Here is a three quarter view of the north and west sides showing the air brake shop. The windows were spray painted with Krylon white primer before installing them. Wooden board doors were cut from scribed styrene. A piece of thin balsa wood was glued to the back of the door opening, so that the styrene boards would fit flush with the frame. The double doors of the air brake shop were made the same way.

The sub-roofs for the two adjoining structures were cut from heavy mat board and test fit on the building. The roofs were not glued in place yet.

The roof of the electrical shop is made of weathered corrugated iron sheets. The air brake shop roof is covered with tar paper. I cut the corrugated panels from Campbell corrugated aluminum strips. I made a simple measuring device by drawing verticle lines 2 scale feet apart and laying out the aluminum strips so that I could quickly cut roof panels with a #11 hobby knife blade.

To attach the corrugated panels to the mat board roof I used 1/2" strips of Bron doubled sided tape. Bron makes a wide variety of tapes for special purposes; they can be found by googling Bron on the internet. The 1/2" size tape is narrow enough to fit two strips side by side to secure the roof panels.

Roof panels were placed side by side with a slight overlap. The second layer of panels run from the peak of the roof and overlap the lower panels. Another strip of Bron double sided tape ran across the top of the lower level to keep the panels flat.

When all the panels were taped to the sub-roof, a line of panels was used across the roof peak. Here is the finished roof before the ridge panels were installed.

The metal roof was given a base coat of Tamiya TS-63 NATO Black spray paint. This was as close as I could come to the now defunct Floquil "Weathered Black" color. I used a "rattle can" to apply the spray paint. Once the roof was dry, I prepared a work space and different sizes of soft brushes to apply a variety of weathering powders from Micro Mark.

For weathering I used grimy black, dirty brown and rusty brown colors. To apply the weathering, I dipped a brush in the powder, picking up enough to sprinkle across the top of the roof. Then I used a wide soft brush to streak down the roof panels.

When using this technique, don't be afraid to mix the powders or apply them successively over each other. You want the roof to look weather beaten, slightly rusty, and sooty, I was pleased with the results I achieved. Here is the electrical shop set on the layout.

The roof of the air brake shop lean-to was covered with a new product I discovered at the National Narrow Gauge Convention in Augusta, Maine: Stoney Creek Designs Rolled Roofing. I opted to use the black paper, which has a granular coating on one side to represent asphalt roofing. The paper was aged by gently dragging each sheet across 340 grit sandpaper before gluing it to the roof.

Here is a view of the southwest corner of the finished structure. The south side is seldom seen or photographed, as it is only a few feet from the adjoining building.

This concludes my step-by-step explanation of how I scratch built the EBT electrical and air brake shops. This unique little building not often modeled, but is a interesting addition to the shop complex. In my next post I will describe how I scratch built another rarely modeled structure: the brick paint shop next to the roundhouse.