
The foam sections were cemented to one another with latex caulk, and covered with plaster cloth. A layer of Hydrocal was then slathered over the cloth. The face of the quarry was cut from a paper rock formation I found in my scrap box. With some finely powdered soil and ground foam, the illusion is complete. The rubble cascading down the side of the mountain is kitty litter!

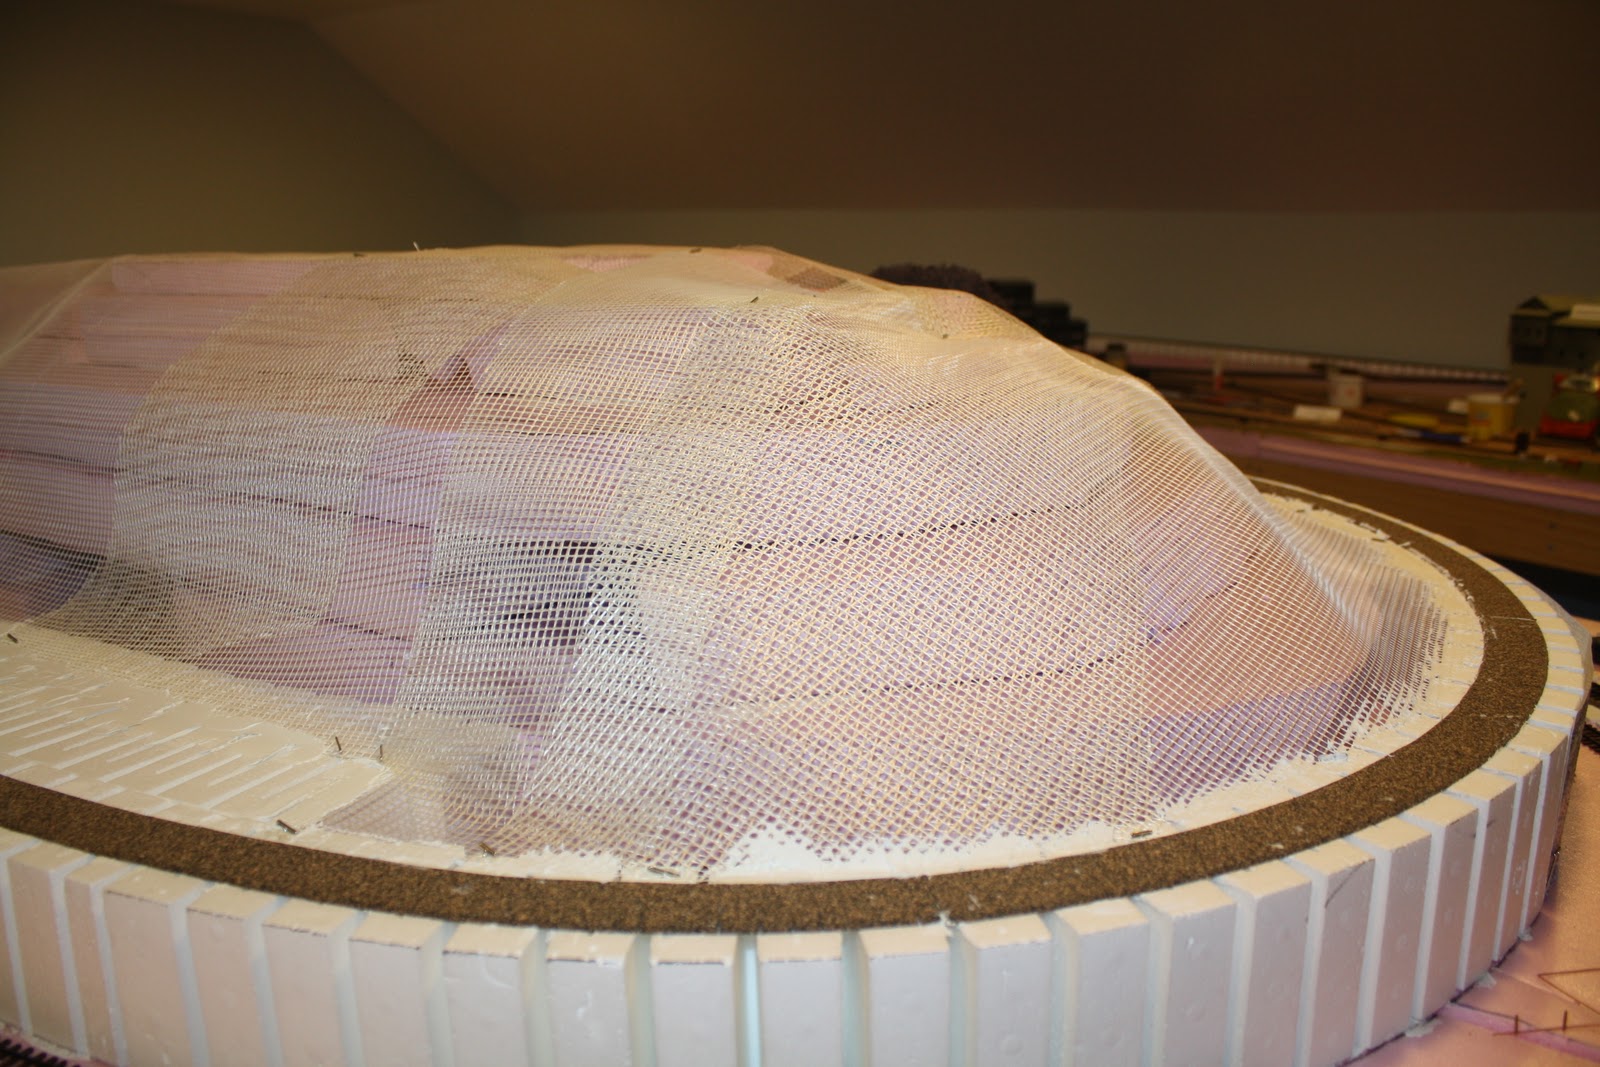
Extruded foam was also used to form a mountain that functions as a divider running between two towns that in real life were separated by 20 miles, but on my layout are situated back to back. Blocks of foam were roughly cut into the form of the mountain, then shaped with a type of fiberglas screen used in boat repairs. The screen was then covered with plaster cloth and Hydrocal, as before. Here is a view of the mountain before applying the hardshell. You can clearly see the foam blocks under the screen.
With a little latex paint, some Noch paper rock wall, and a little lichen, the mountain divider begins to look like real scenery!

But while foam insulation is light and easy to work with, it does present some problems for the railroad modeler. The most common method for constructing a model railroad is to lay Homosote on a base of plywood. Homosote is a dense paper product that holds spikes and track nails tightly. The plywood provides a sturdy base for stringing wires and attaching switch machines. Foam is a softer medium and does not hold screws or nails well. This can present some real challenges to the modeler.
The problem of mounting switch machines is a case in point. Some modelers have mounted the switch machine to a thin piece of plywood, and attached the plywood to the underside of the foam with adhesive. But most adhesives require that the joint be firmly clamped for several hours to allow it to cure. Clamping a piece of plywood to the bottom of the foam is not easily done, nor is it practical to screw the wood in place.
I chose to approach the problem from the top down, rather than from the bottom up. While most of my turnouts are manually operated with Caboose Hobbies plastic ground throws, there were a few places where the turnout was in an awkward location, or too far from the aisle, and some kind of electromechanical device was necessary. Rather than mounting the switch machine under the layout, I chose to mount it on top.
A Tortoise switch machine was attached to a 3 1/2 inch square sheet of 1/8 inch styrene using small nuts and bolts, as illustrated. A hole the size of the switch machine was cut in the foam with a serrated knife. After dropping the machine into the hole , I drew the outline of the styrene square on the foam with a magic marker. Removing the machine, I then carefully carved away about 1/8 inch of foam in the marked off area. The switch machine assembly was then dropped in the hole again, and after trimming any bumps, the styrene was cemented to the foam with latex adhesive and weighted until the caulk dried.

The beauty of this method is that should the switch machine ever need to be serviced, it can be unbolted from the styrene and dropped out the bottom of the hole. Here is a view of the Tortoise switch machine from under the layout.


Instead, I worked around the problem by cementing 1/8 inch cork roadbed to the foam with latex caulk, then securing code 70 flextrack with track nails and/or spikes pushed into the cork. In the yard areas I used sheets of cork in the same way. The cork does not hold the spikes as well as Homosote, but ballasting the track with a dilute mixture of white glue and water tightly bonds the track to the cork. Here is a photo of the Blacklog Valley mainline affixed to the layout with light gray ballast.

This concludes the series on how I built the benchwork for my model railroad using an open grid wood frame covered with extruded insulation foam. I hope you found it informative and useful as you consider your own layout.
I have come across your blog and see that is a different project, you have posted here working with foam insulation, very nice tutorial with photograph, nice blog thanks for sharing this with us.
ReplyDeleteinsulation machine
Wow I like this blog so much, better to keep on posting!-spray foam insulation Vermillion-
ReplyDelete