The East Broad Top built a massive coaling dock at the south end of the Rockhill yard around the turn of the century. For fifty years coal was deposited in the bunker by hopper cars pushed up an incline as shown in the following photograph (photo by Philip K. Hastings). No. 15 has spotted a hopper in the receiving bin and now drifts back down to the main.

In the following photo No. 16 passes the concrete bunker with its chutes for loading coal into narrow gauge tenders. (Photo by John Krouse) About the time the railroad ceased operations in 1956, the shed was removed to allow coal deliveries to be made by truck. The tracks leading up to the receiving bin were taken up at that time. When I attended my first Winter Spectacular in the mid-1970s, the coal dock was still in use. Toward the end of the tourist era, the railroad abandoned the concrete coaling facility and used a front loader to fuel the tenders.

In building my model of the Rockhill shops, I had always planned to include a model of the coal dock. Long ago I purchased the White Ground kit for the structure, and for years it sat on a shelf waiting for the "right time" to build it. The mountain that ran behind my shop complex ended with a gaping hole where I planned to place the coal dock. Because of the layout of the shops, my dock had to be on the opposite side of the tracks from the prototype.
I was motivated by a visit to the EBT in 2015. While attending the annual Fall Reunion of the Friends of the EBT, I wandered around the south end of the yard and took some photos of the coaling dock as it looks today. The shed is gone and the chutes have seen better days, but it still looks much as I remembered it some 45 years ago.


Building the Kit
The bunker is constructed from four sheets of basswood, which had to be cut to size from the plans that come with the kit. This is typical of White Ground kits. They are essentially a box of sticks with some detail parts made of soft white metal. The box also included a plaster front wall for the structure and two additional retaining walls.

After painting the bunker black, I test fit the front wall against it. The walls were painted a light gray to suggest aged concrete.

I put the coal bunker aside and began to construct the shed that sits on top of the bunker, referred to in the instructions as the receiving bin. The basic structure is made of strip wood assembled with Aileen's tacky glue. I used right angles to make sure everything was straight and tight.

Masking tape was used to fix the sleepers on a glass plate. Even after the glue was dry the frame was a little wobbly -- until the roof was glued in place. The roof is made of stiff cardboard and helps to hold everything square/

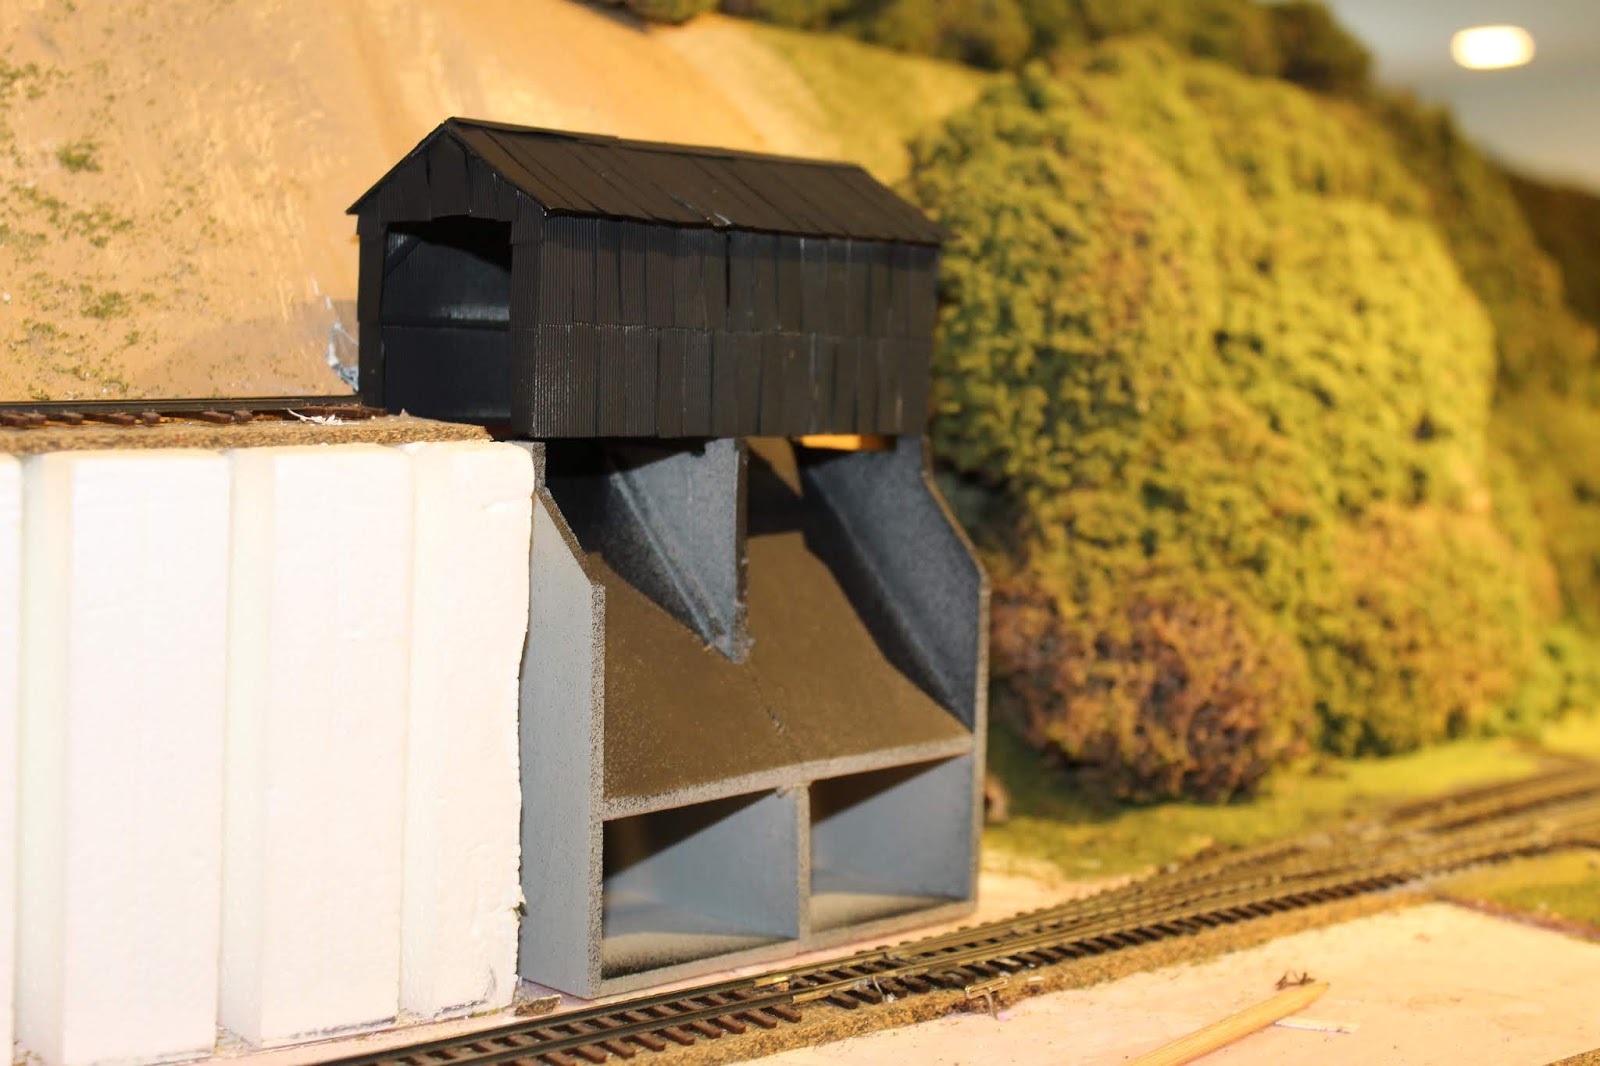
With the receiving bin frame finished, I test fit the entire assembly in the place reserved for it. The styrofoam incline on the left is from Woodland Scenics and supports the incline tracks. Another styrofoam riser will fill the void on the right when the model is finished.

The receiving bin is covered with corrugated metal panels, made from Campbell's corrugated siding. I tried to make the siding look somewhat beat up even before painting. For the back of the shed, which is not visible from the aisle, I used a single sheet of corrugated siding.

I sprayed the building with Tamiya XF-69 NATO Black, which is as close as I could come to Floquil's grimy black. Here is the shed test mounted on the coal bunker.
The same technique was used to build the roof on the bunker.

Here is a photo of the entire assembly with the styrofoam fill on the right side of the coal bin. The dotted line on the styrofoam indicates where the foam will be cut to match the angle of the bunker roof.

At this point I laid the bunker and receiving bin aside and focused on detailing the front wall. There are several openings cast into the hydrocal wall. Just above each of the chutes is an opening with coal boards to control the output. Two access doors are at ground level.

Before adding the details, including the chutes, cables, pulleys, gutters and downspouts, I used Pan Pastels to age and weather the front of the coal dock and the two retaining walls. The walls were treated with rust, charcoal, and other colors to imitate the pictures of the structure as it is today. Compare the two following photos.


The front wall details are made of white metal castings. Many of these castings needed to have flash removed and holes drilled in incredibly tiny parts. I painted the parts with Tamiya NATO black and Pan Pastel rust. The corrugated panels were given a similar treatment. By now the bunker was starting to look more realistic.

At this point the coal dock was essentially complete. The rest of the project involved creating the scenic setting and laying the track. I cut the styrofoam risers to match the angle of the bunker roof, then painted them a flat black. On the prototype the track sat on boney ballast, like most of the yard tracks. Lichen foliage was glued to the mountain side, track was laid and an EBT hopper car finished off the scene.

The last step was to brush a thick layer of matte medium on the black slopes and shake a layer of sifted boney over them. I brought actual Rockhill boney back from my last visit to the EBT in 2017.

Since finishing up the coal dock, I have wired the incline track and run No. 18 backward up the incline pushing a loaded hopper into the receiving bin. The last time that happened on the prototype was nearly 50 years ago!
No comments:
Post a Comment