
To give a solid support for the large rock castings behind the trestle, the vertical wall was coated with a layer of Hydrocal. The channel for the upper stream that will cascade down the rock wall, and the carved out shape of the pond and rapids below, were also coated with Hydrocal
Once the Hydrocal had set, I began to experiment with positioning the large latex molds that would be used to cast the center of the rock face. Fortunately, the two largest molds fit together reasonably well, and the gap between them could be filled with plaster, then blended together with a knife to give a seamless appearance to the wall. I used Plaster of Paris for the rocks, since it accepts acrylic stains better than the rock hard Hydrocal.

I filled the molds with Plaster of Paris, then waited until the plaster began to set. While the plaster was setting, I sprayed the Hydrocal wall thoroughly with water. This is a critical step, for if the Hydrocal is dry, it will instantly suck the water out of the casting and the rock will not hold. The liquid plaster is ready to apply if it no longer spills out of the mold when you pick up an edge. Then the mold must be lifted gently, supported as much as possible with both hands. The casting is placed on the Hydrocal and held in place by the edges for several minutes until the plaster sets. After ten or fifteen minutes, the mold can be gently removed.

Here is a picture of the rocks with the trestle in place. To give you an idea of the scale of the scene, the trestle is 160 feet long and 40 feet high. The top of the waterfall where it will emerge from the upper stream is 80 feet high. At this point a great deal of work remains to be done on the rock wall. The two castings will be plastered together and the seam shaped with a knife to give the illusion of a single massive granite wall. One of the rocks will be recast and cut into pieces to fill in most of the empty space on either side.

A waterfall has to have a source. I cut out a channel in the hill at the top of the ravine for a stream. The sloping sides of the channel were covered with cardboard and plaster cloth, and a channel was carved out of the foam stream bed. Eventually, the sides will have cast rocks glued to them rather than the flat, artificial sides.

The waterfall cascading over the cliff will be a key feature of the scene. To see how the waterfall would fit in the scene, I used a piece of white paper to gauge where the falls would land, and decided to enlarge the pool at the bottom of the cliff. Impressive!

I decided to stain the rocks using a method called "leopard spotting" that I picked up from the Woodland Scenics website. It's a very simple technique that consists of randomly "spotting" the casting with several different colors of acrylic paint in a water solution. It is much easier to make the rocks darker if the colors are too light, than to lighten them up if the colors are too dark. So I used Forest Green, Slate Gray and Raw Umber in solutions of 1:16 to 1:32. Once the rocks are stained with various colors, the next step is to apply a weak black stain, but to allow it to flow over the rocks rather than spotting them. In this way the black runs down cracks and crevices and gives depth to the casting. Since I was new to the techniqe, I used it on a spare casting to test my technique. I was genuinely amazed how realistic the rocks appeared after this simple technique.

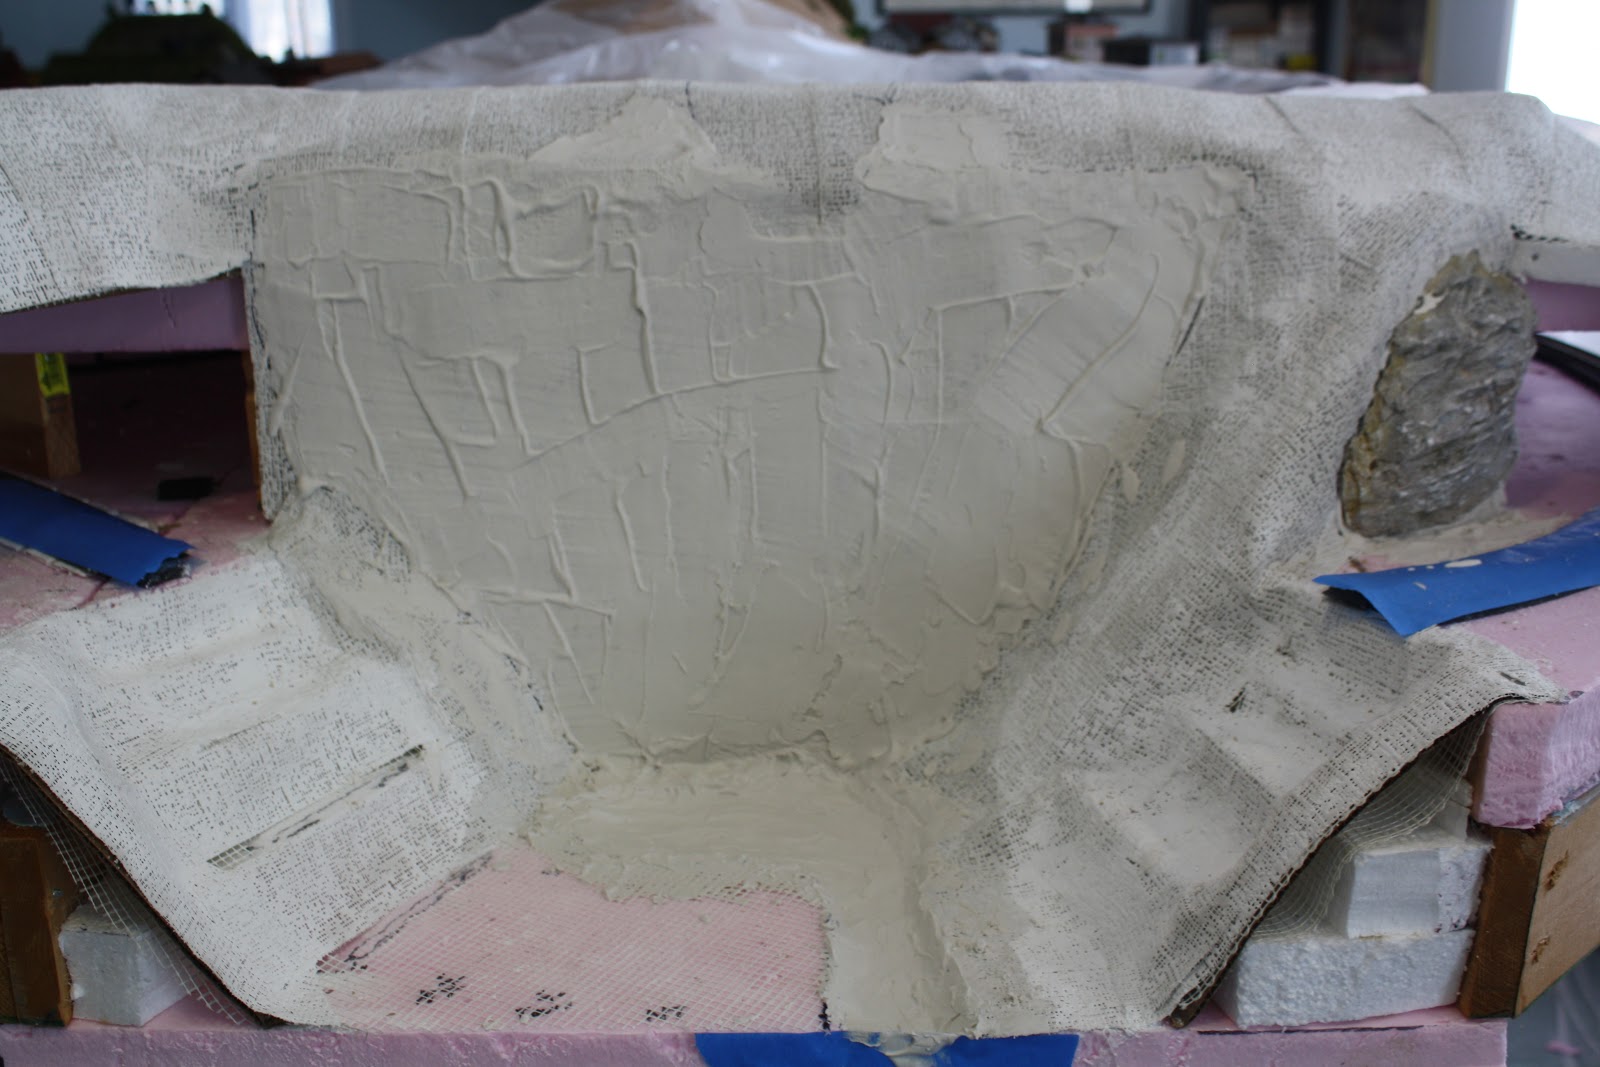
Reassured that I could paint a realistic rock wall, I proceeded to cast another large rock, then cut it in pieces to fill in the voids on the face of the cliff. In the following picture, I have filled in the gaps between the various castings with plaster. A hobby knife and dental tool were used to shape the plaster to make it a part of the adjacent castings.

Now to the exciting part! I mixed solutions of acrylic paint and water, and lightly spotted the rocks with green, brown and gray. Then I dipped my brush in the black solution and allowed the stain to run down the face of the cliff. If the stain did not run into some cracks, I applied it directly. The results were amazing!

When I was satisfied with the results, I stood back to admire my work. A massive rock face now stood where there had been only a flat sheet of Hydrocal. The white spaces on the left and lower right will be filled with vegetation when the scenery is finished.

Once again, I wanted to see what the finished product would look like. Here it is with the trestle in place. In the next installment, I will detail how I made the waterfall and the rapids using simple materials such as acrylic caulk and Woodland Scenics Water Effects.

No comments:
Post a Comment