In the area where the trestle would sit, the HO gauge Blacklog Valley emerges from a tunnel, curves in front of the viewer, and disappears into another tunnel. The trestle was built on a tracing of the curved track that would be replaced by the new structure. In order to situate the trestle on the curve, the tracing was relaid on the 22 inch curve to mark the two ends of the bridge track.

A Dremel tool was used to sever both ends of the track that would be replaced by the trestle.
With the track removed, the extruded foam insulation was cut to make space for the ravine that the trestle would cross.
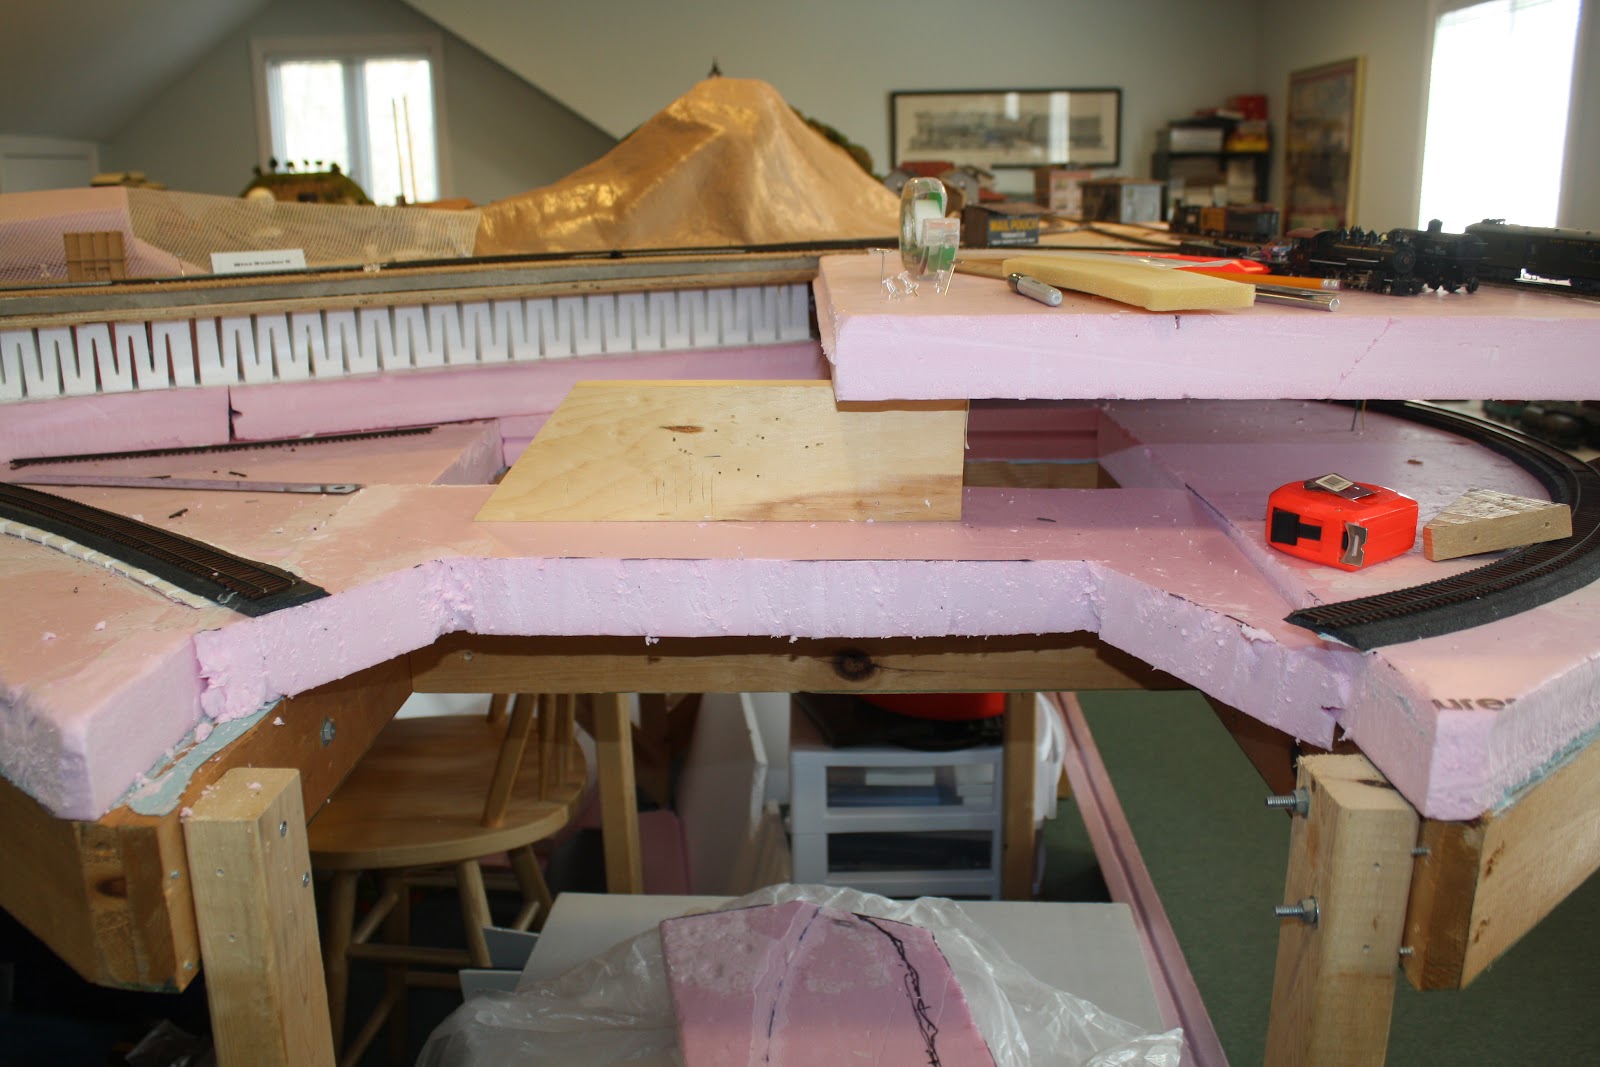
Then the trestle was test fit to the opening to make sure that the rails would meet at either end. A deep sigh of relief followed, when everything fit.

A new foam floor was inserted and leveled such that the railheads on either end line up with the railhead of the bridge track. At last I could begin to see (in my mind's eye) the scene that would eventually fill the empty void before me.

The space behind the trestle would become a sheer rock face with a cascading waterfall crashing into a pool, and a rushing stream passing under the trestle. I began by erecting a carboard "cliff" and test fitting some latex rock molds that I had picked up at the Springfield (Massachusetts) Train Show back in January.

The trestle supports would descend from the original track level to the floor of the ravine via a series of styrofoam steps. The styrofoam was held in place with steel pins.

I checked to see if the trestle bridge track was level or canted to one side or the other. Cardboard shims were used to see what kind of adjustment I would have to make. If you look carefully, you can see a glass bubble sitting on the track to indicate the degree of tilt.

Once I was satisfied that the track was relatively level, I removed the trestle again and began to rough in the shape of the ravine using pieces of corrugated cardboard.

I laid pieces of Fiberglas screen over the cardboard to provide "tooth" for the ground cover that would eventually cover for the scene. I like to use projects like this to test out different methods and materials, and it is my plan to use a new product from True Scene called "Fusion Fiber" as a base for the scenery. The Fusion Fiber needs a porous surface to adhere to, which would be provided by the Fiberglas screen.

At this point, it was time to carve what would become a pool and a stream with rapids at the foot of the cliff, and a cut in the hills above for a torrent of water to pour out and over the rock face. I carved out the areas that would hold the "Magic Water" using a surfoam tool. In the photo above, you can see the where the cut will go in the hill above and the pool and stream below.
Before going further, it was time to test fit the trestle again, to get a sense of how the scene was beginning to come together.

At this point, I began to see the scene taking shape almost like a diorama, neatly framed by the two tunnel portals on either end of the trestle. In the next post, I will explain how I formed and painted the plaster rocks to create the dramatic cliff behind the trestle.
No comments:
Post a Comment